by Aimee Kennedy, Vice-President of Education, STEM Learning & Philanthropy at Battelle

A design challenge is a great way to engage students to use skills across disciplines to create solutions for real world problems. These projects can seem intimidating. They probably don’t align to pacing guides or regimented lesson plans from five (or 15) years ago, but they are worth the early headaches. Watching as students grow as learners and as leaders is worth it.
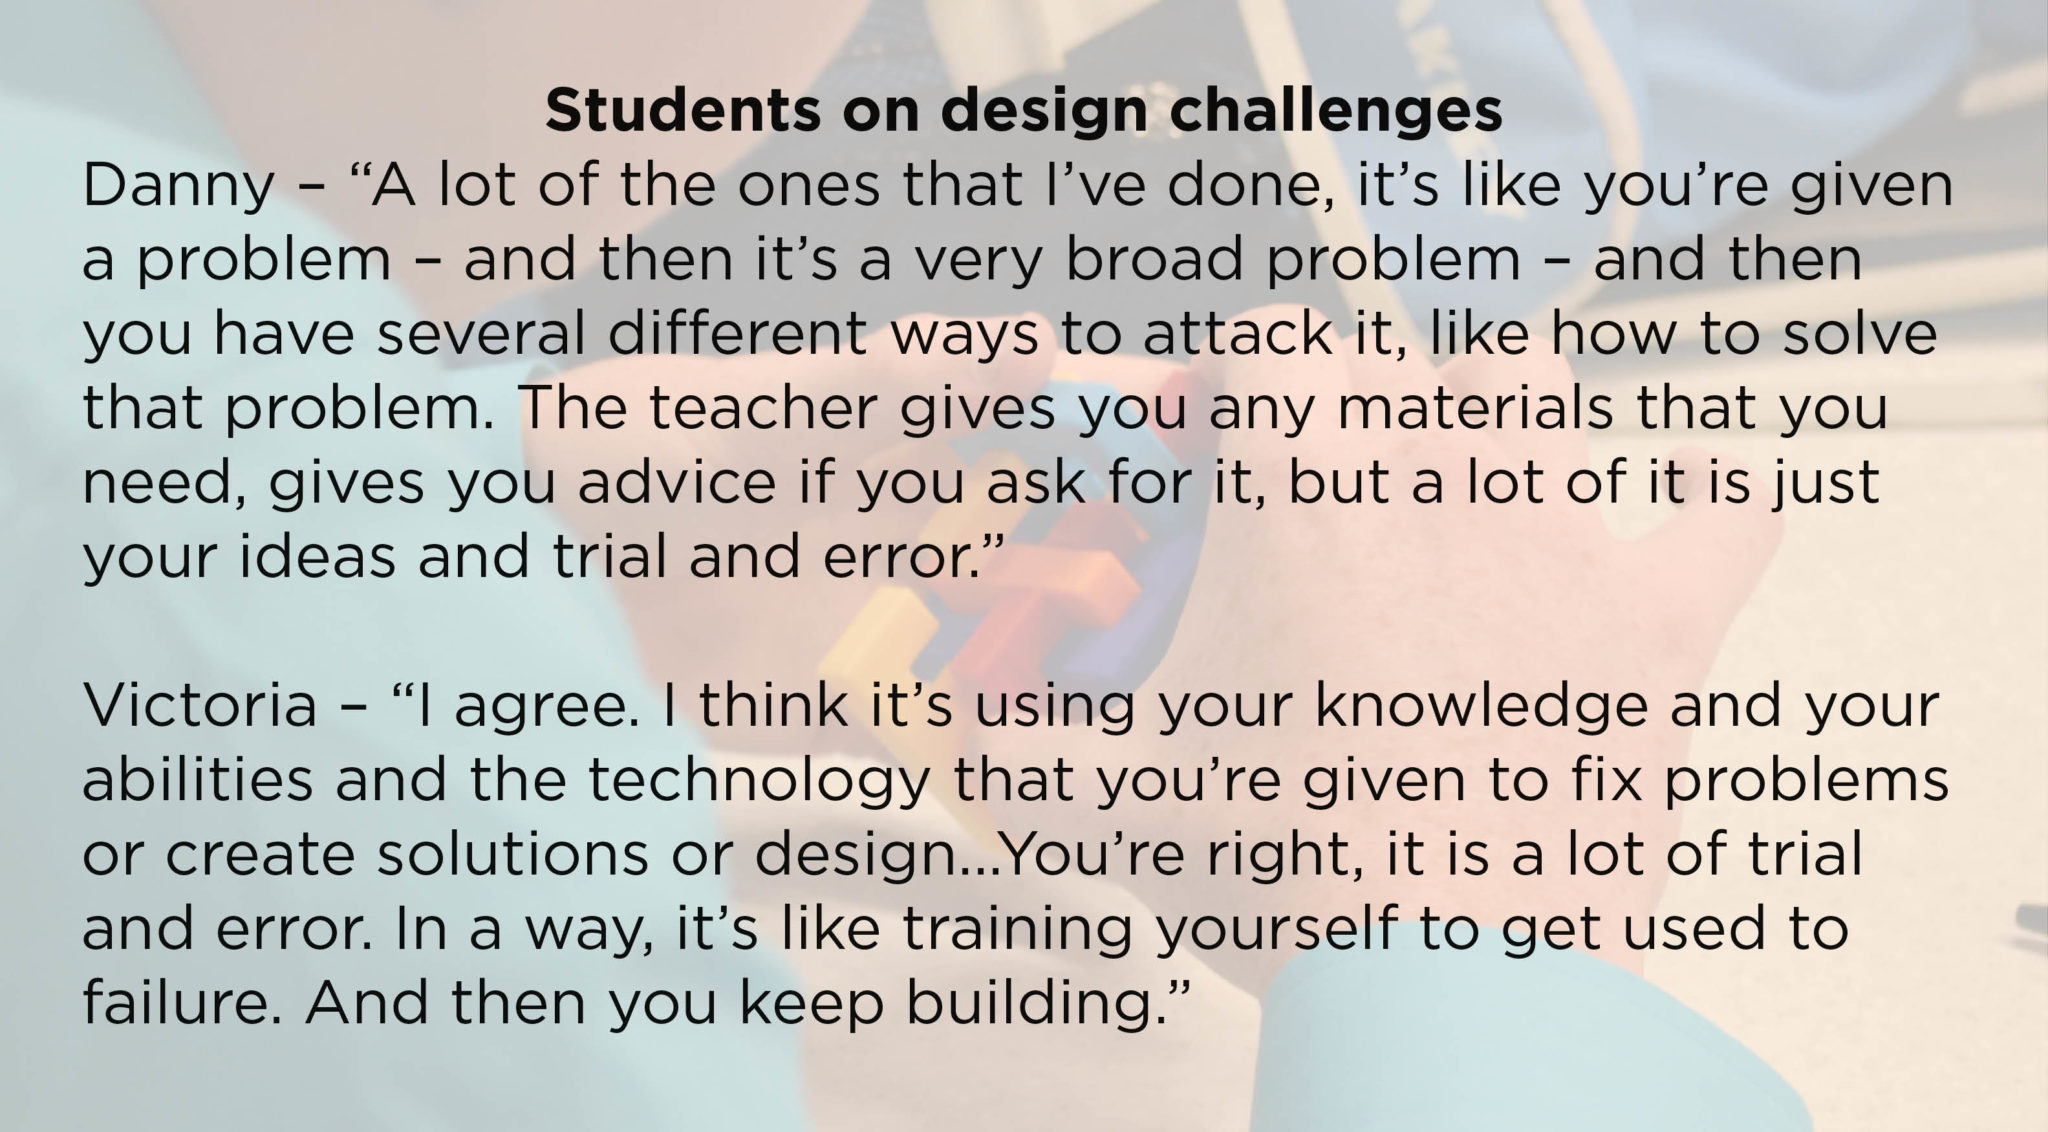
Setting up a design challenge doesn’t have to be complicated – but it must be relevant to your community. Design thinking is deeply rooted in the principles and mindsets that innovators use to solve the problems—daily. The best solutions are never siloed in a single subject area. That’s why design challenges are a fantastic way to provide interdisciplinary learning opportunities for your students. The adults learn and grow as much as the students. For an expert perspective, we spoke to two Reynoldsburg eSTEM students about design challenges.

Do I have time to do this?
I was a teacher for over a decade; I know I had my curriculum plan lined up far in advance. Having a plan for your content is a critical step in creating a design challenge. If teachers aren’t clear about what kids need to learn, and how they are going to assess that learning, it’s going to be a very long school year—for everyone. The beauty of a design challenge is that teachers get to own those content standards. They get to act like the professional experts that they are. They get to be designers. They get to rearrange and reorganize their content standards in the way that works best for their kids in their classrooms.
But don’t I need a template?
Design challenges are best when they are local. There may be a template that works for you, but there may not be. It’s okay to make up your own from scratch, but it’s even better to borrow from someone else and iterate it to work for you. If you need help getting started, here’s guide.
Step 1: Determine the focus of your design challenge.
Challenge topics can come from anywhere. Sometimes they are local issues (like a need for a healthier community) and sometimes they are global (like design a new sport for the Olympics) Pick something that is complex, has more than one solution, and requires multiple disciplines to develop an answer. Most importantly—pick something that means something to your students.
Step 2: Get organized
Design challenges are an exercise in project management. At schools that facilitate them well, they use a project management framework, and project management roles/responsibilities to work the challenges from start to finish.
Where to start? Pick a date for student exhibitions, and work backwards from there. Determine how you are going to organize teachers, students, and time; don’t feel like you need to do this alone—form a project team to help you. It works really well if you can organize your teachers into teams. Who are your project managers, your logistics managers, your resource managers, and your people managers? Are there supplies needed for this design challenge? Decide how students are going to be grouped, and reach out to any experts (don’t forget virtual experts who could skype into your classrooms)
Step 3: Let the teachers design
Teachers should backwards map from the presentation date to determine what learning standards they will assess for student learning this design challenge. They should also be clear about how they are going to assess them. Rubrics will need to be developed (or tweaked depending on your schools’ experience with design challenges). See Doug Llewellyn’s work on the Inquiry Continuum for guidance about how to think about what kinds of choice to give students in the design challenge process. Are your students ready to determine their own questions, procedures and results? Or do they need more structure than that to be successful?

Step 4: Plan a hook activity
It’s critical that your students are excited about this design challenge. A hook activity “hooks” the attention and energy of your students. This activity could be a field trip, a guest speaker, a skit by teachers, a movie…the possibilities are endless. You know your kids well—what will make them intrigued and excited to solve a problem?
Step 5: Let the kids design
Just like the teachers were organized into project teams when they designed the challenge, students should be organized into project teams as they work on solutions. Students will thrive in the roles of project manager, relationship manager, resource manager, subject matter expert, etc. In schools where design challenges are part of the culture, we see students document their experiences in project roles on their resumes.
Sometimes students need structures to help them manage their time while they are working. Don’t forget to consider that and determine (in advance, and adjust as the projects move towards completion) what kinds of structures your students need to be successful in designing a solution to the problem.
Step 6: Check in with student groups as they work through the design cycle.
There are several design cycle models out there. If your school doesn’t use one, pick one and go with it. The critical thing isn’t the specific names of the steps your students are taking, the critical thing is that they are clear about the expectations, and that teachers are checking in to provide feedback along the way.
As students are prototyping, remember that they’ll need some rudimentary materials for the task at hand. These materials will be different based on your specific challenge, but cheap cardboard and miscellaneous craft supplies is always a good starting point. I’m always surprised by what students manage to come up with given simple materials and encouragement. (and check out Caine’s Arcade if you haven’t already to see this creativity in action).

Don’t skip getting feedback and revisions
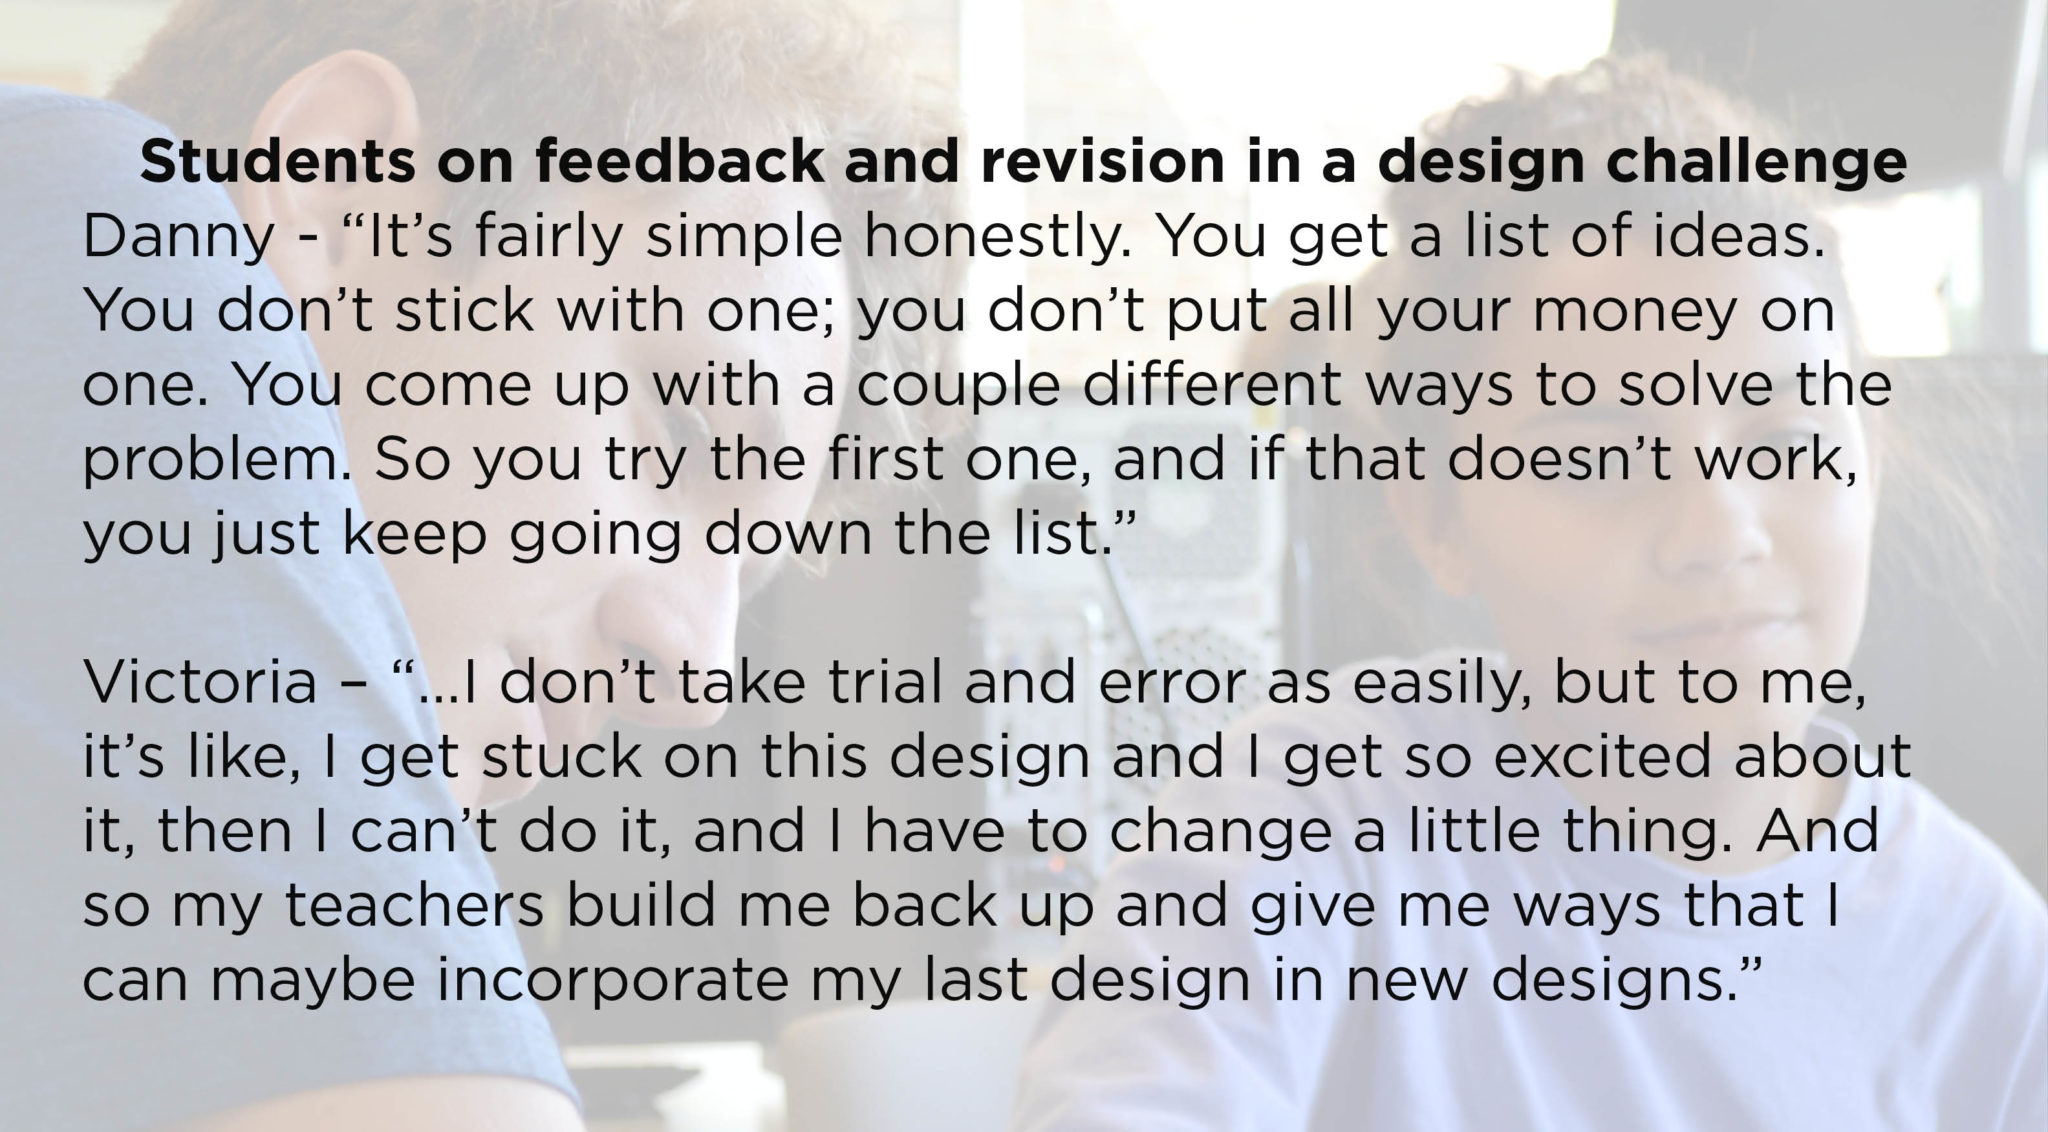
These steps are where learning actually happens. Getting feedback and revising the work takes time, but these are the steps that distinguish design challenges from plain old projects. These are the steps where students get to build and refine their academics and their work habits.
What works about the prototype? What could be better? What problem we were trying to solve again? This will be a rough draft of the design, serving to encourage students onward as they iterate upon later drafts.

Keeping in mind what did and did not work, have the students go back to the drawing board to iterate each time.
Step 7: Present
Students should stand behind their solution. Why is this the best way to solve the task at hand? What decisions did they have to make along the way? While presenting these to other groups in class works well, it’s even more impactful to partner with local community organizations. You might even find that they have problems to be solved, which could begin the cycle all over again!
Your turn: What will your school do?
Got a great idea for a first design challenge? Just leave it in the comments below and help other schools do more with STEM.
There are helpful resources online to jumpstart your thinking; I’d suggest starting here, here, and here.